Thursday, July 29, 2010

Checking in at Micheals for Spookytown!

While checking Micheals to see if they had spookytown up yet ( NO!but they where setting the section):)
I found these little straw flowers for .99 cents a bunch. Since I had such good results  from the babies breath I thought these would make great sunflowers. So I seperated a few flowers and since they are green decided to bleach them.

After soaking them in bleach and soap for 15 minutes I found that all the flowers closed! LOL click on the picture to see better. I can use these too but why did they close??????
Next I had another brilliant idea to paint the petals! I took an open one painted all the petal,,,,,it closed too. I'm stumped with these flowers.
I'm still going to use these floweres  but now I'm afraid to spray them with the Krylon sealer!ARGGGHH!

Monday, July 26, 2010

More plants and Captain Plymouth!

I bought this Captain James Plymouth statue from Lemax to go in the garden since it will be going into my sea village someday. He is just so big though! I'm going to leave him there for a few days to see if he will grow on me! LOL

 A new flower made with silicone. I just put a dab of silicone on a plastic wrap covered plate. I stuck these very sharp leaves into the silicone so they would be offset rather the clumped together.


 Here are a few it took about 20 minutes to make.

And done! I do need to cover up the silicone on the bottom of each plant but a little glue and some static grass~~ no problem!

Trying different leaves I made these too but they didn't turn out very well. I used floral wire to tie them together at the bottom but it made each plants leaves bunch up really bad so they look squished. I'm going to redo them using the silicone method and see how they look then.

Friday, July 23, 2010

Butterflies!!!!

Here is how the flowers came out on the display!

Now the butterflies! All I did was find a butterfly picture from the internet and save it to my picture file. I opened up microsoft office word and inserted the picture so I could reduce it. Once it was small enough I printed it, covered them with clear shelf paper and cut them out. Easy butterflies.

Wednesday, July 21, 2010

Miniature flowers for the garden

I need lots of flowers for this garden. I've tried several ways of making them. This is what I have come up with so far.
I found these grasses at Micheals. I like the tiny leaves it has.


I seperated the leaf sections and will only wire 3 together for a nice clump. I used floral wire down the center of the sections and around the bottom stem to close.
                                                                 Here is one finished.
I'm always looking for mini flowers for my displays. It's hard to find them. Except from e-bay in the dollhouse section where they are very expensive. I had some babies breath that I had dried from my son's wedding. We had loads of it! LOL I added a little sprig to this grass and behold some cheap mini flowers. I liked it. So now I need more colors. Acrylic paint is my friend.LOL
I'm using some watered down acrylic paint to dip the dried flowers in. I noticed the babies breath I saved had some larger round blossoms and some really tiny ones that weren't quite open yet. That is good. Different sizes will look like different flowers.
Here is the babies breath after it's been dipped a couple of times. Then I tapped it against the side of the sink to get rid of any excess paint.

Here are a few of colors I used. After they dry again I sprayed them with Krylon clear spray paint it's the flat not glossy I didn't want the flowers to look shiny.
Sorry this picture turned wrong! You see my leaf organizer. I keep lots  of different kinds of plastic leaves to use in my displays. Here I found some tiny leaves to surround my flower. I cut them into sections then wire them together like you would do for normal floral arrangements.
  Here is one done. The flowers are really pretty strong covered with the krylon. I left a little wire at the bottom to make planting in styro a little easier. LOL
Here are 3 done. It took about 20 minutes to put them together. I added butterflies ( tutorial tomorrow) and I'm pleased with these, they look real.
Here are the plants I finished on my lunch hour.

Tuesday, July 20, 2010

Lavender for my garden


I found this at Micheals. 1.99 The lavender is a little big but in my garden I have some super gardeners! LOL I'm going to use the tops and save the other leaves for another type of grass.

I used a nail to poke a hole in the styro to plant my little lavender plant. I use plastic plants that I find at the hobby stores. I have tried the silk plants but they don't look nice. The plastic plants can also be cut and shaped to the size you need for your garden.


On my fairy grotto, I found some driftwood at the beach that reminded me of old forest trees. They where badly in need of a good washing when I got them home!I had to cut some sections off so they would fit my display. But I think they are going to look nice once I tweak them a little. Here I've added some ground foam to look like moss on the trunk and some pinkish moss to give it a little color. I still have to find foliage for the larger trunk. That's not easy. I've tried some fiber foliage from woodland scenics but I couldn't get it to look right. I'll keep working on it.

Monday, July 19, 2010

Plastic scour pad and wooden topiary


I read about a crafter who made hedges for villages out of plastic scouring pads. So I thought they would work for topiary too! I was making village ponds at that time and needed to make a garden base to display them.


I took a scour pad and going back to kindergarten remembered how to make a spiral shape. Whew it's been a while since Kindergarten.

Cut out the circle, and spiral.

It should uncurl like this. I used yellow but the greens one color better.

It will fit on a stick or the end of a plastic plant stem ( Tip from a very creative villager named Cowboy). With a little hot glue but first we need to add the greenery to it.

You can also make a layered circular topiary the same way with circles only cut a small cross in the middle of your circle so they can be put on a stem.


They will look like this.

Next we need to cover them with greenery. I use a mixture of ground covers for villages. Static grass, flocking and turf. First cover the scour pad with PVC glue like Arleens tacky glue. Then roll and cover with greenery.

Let dry overnight!

I also found some cool little wooden shapes at the craft store that can be covered for some different shaped topiary.

Have fun finding different items. I even used plastic animals for topiary in my new garden.

It also works great for hedges! LOL

Miniature Village Garden


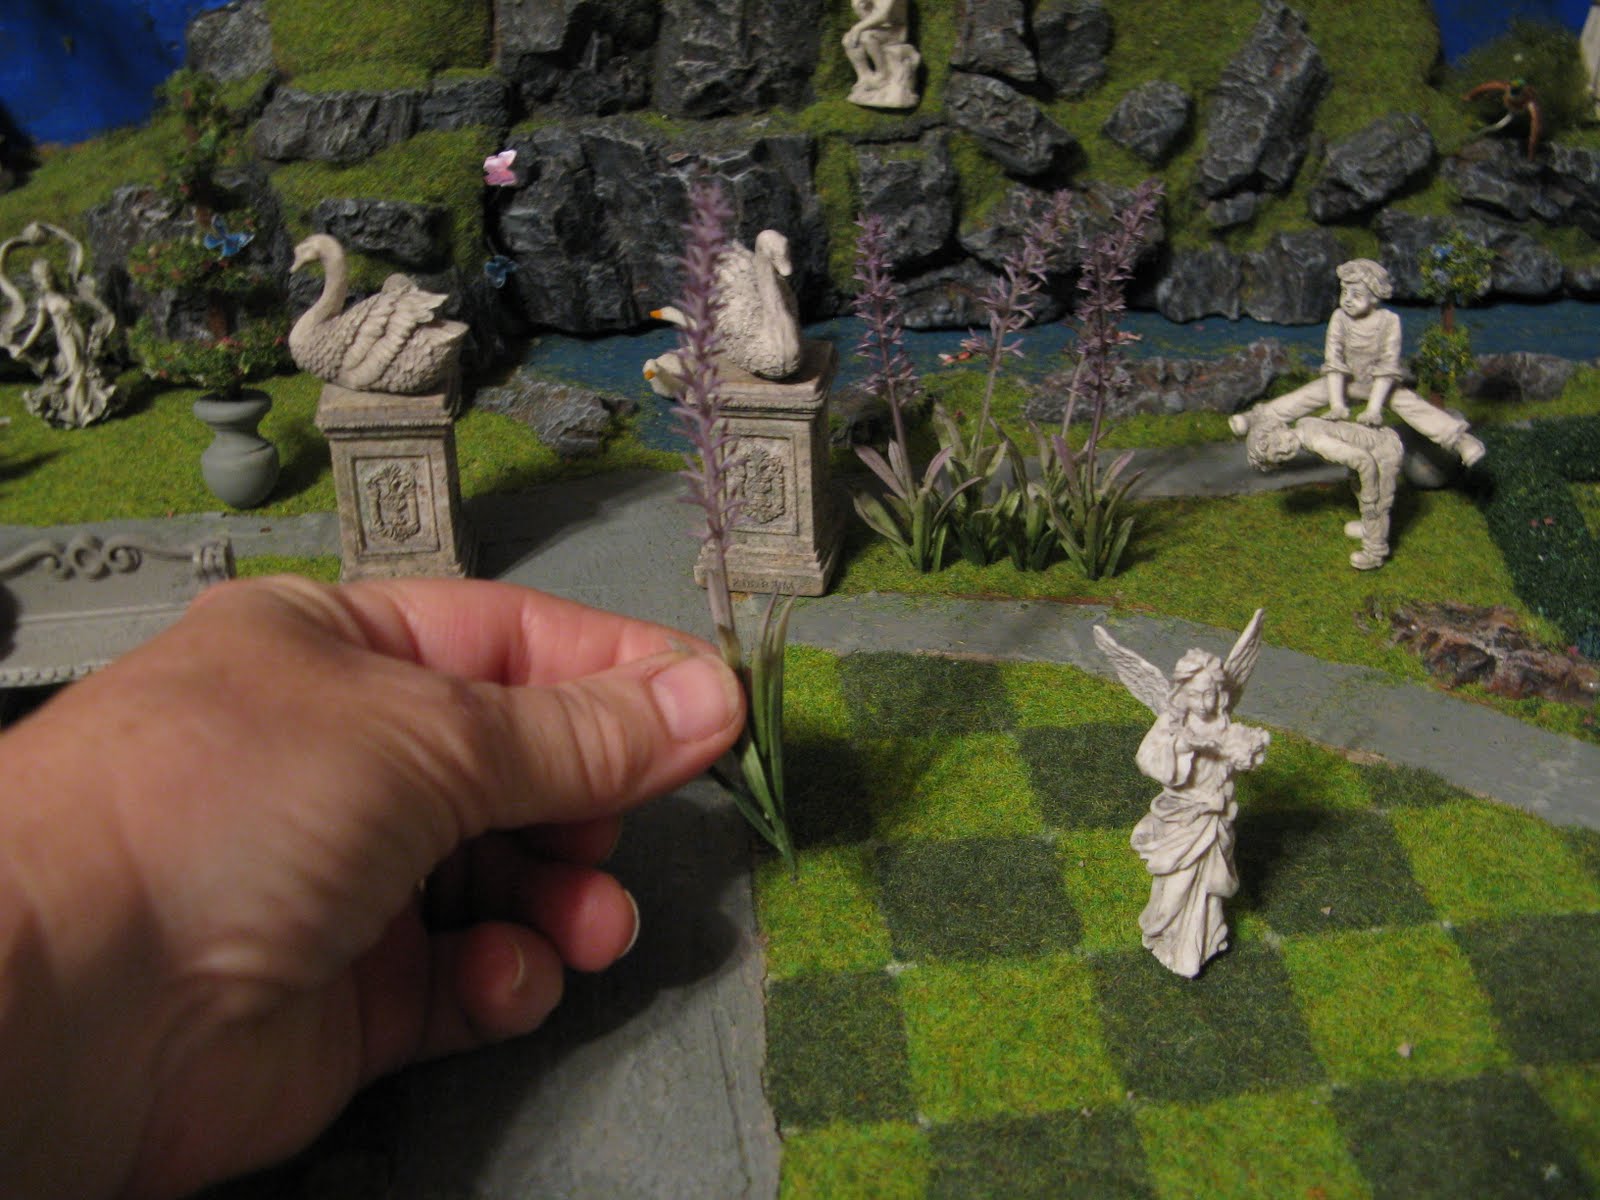
I've always wanted a topiary garden in my village. I've collected some really nice miniature garden statues from Falcon minatures and Ametec industries in Scotland. Along with some topiary creations I've made. So after several practice tries with some smaller vignettes I think I have a plan that might work!I'm using polystyrene foam Board for the base and backdrop. I want the backdrop to be removable so I won't attach it. I'm setting the major pieces on the base and taking a picture to plan out the paths and flower beds.


I loaded the photo on my computer and printed out the picture so I can write on it.
I'm probably not going to stay with everything in the photo but it gives me a general idea of the pathways I want.

I had to find a way to make hills and rocks in some medium other than white or green extruded foam. I saw a you tube video by a train collector who does marvelous train landscapes. Here is his link.
http://www.youtube.com/watch?v=fP-cyX2F8p0&feature=channel
Thebige61 has some amazing ways to add hills, rocks, and water to your landscape using floral foam.
After gluing the floral foam pieces to my back ground board I will shave them down with a rasp to look like a hill.

Here I'm adding my first rock. If you checked out BigE61 then you know these are plaster rocks from a woodland scenics mold. They are really easy to work with. The only thing that may be a problem is plaster does chip easily. I may have to seal these rocks to protect the paint from chipping especially from a backdrop that I'm going to move a lot and store.

Here's what they look like after taking from the mold. I bought two molds.

I'm using some of the larger rocks for the sides to frame in my waterfall. I had to use sand paper to shave them down a little. I used the ground foam and glue from BigE61's video to seal all the cracks it worked really well.

I bought these fairy statues and Castles from Amtech industries out of Scotland. I want to make a little fairy garden for them. I though the large detailed castle on a hill would look really good. So I carved an overhang to go over the fairy hill. I want to add some rocks under the hill for a Scottish craggy look. I'm hoping it will work lets see.

Here I've added more rocks to my hill and under the fairy hill.

I've added most of the rocks that I want to frame in my waterfall and stream.

I painted the rocks and floral foam a base coat of grey.

Then a light wash of black acrylic that I'm blotting back off with a paper towel. Make sure to let each layer of color paint dry completely before adding the next wash.

Then a wash of burnt sienna acrylic. I'm putting another coat of paint on the floral foam as well to make it stronger.

Here's how they look with all the color washes. I also dry brushed a little dolphin grey acrylic just to outline the rock.

While the rocks are drying I'm drawing in my paths and flower beds. To make the paths circular I used a quilters ruler, it has several sizes of circular lines. I also wanted a checkerboard grass area for my angel statues.I just think they are neat! LOL

Using Noch static grass mixed with Woodland scenics dark green flocking I glue the grass around my rocks.I just use elmer's white glue.

Don't forget the fairy hill! LOL

Here I added the rocks outlining the stream. I added some of the statues just to see what they look like! So far so good. I know this steam is going to be hard to make the way I want. I have to seal it to hold the envirotex till it dries. Then remove the sealing material so my backdrop will fit back in place. This will take some planning.

I've painted the rocks surrounding the stream and picked a blue for the stream bed. The sidewalks are covered with grout and painted. I don't like the color though so I'm going to change it to grey.

I'm taking a break from the stream to work on my checkboard grass. I so hope this comes out right! LOL
I first painted the squares so if the flocking doesn't cover everything it will still look thick. I know I want the dark green flock so I'm painting on the glue and covering each square with the woodland scenics flock. It's just so mono tone green though it really needs some more variations in color.

I'm done covering the squares. When it's completely dry I brush off any excess to save for another project. doing this I can make a package of flocking or static grass last all year.

Now my next color I can use Noch meadow green or Woodland Scenics golden brown???? See the difference in the flocking. Noch adds some color variations to it's greens I really like that.

Noch wins this one. Now I noticed it was easier to keep straight edges using a flat staight edge paint brush to put the glue on. I also pressed a little hard when making the lines for the squares so the flocking would look neater.

Here's a side view. I'm really pleased with the way this came out. When the grass was completely dry I brushed it gently with a paint brush to make the flock stand up a little.When I brushed it the dark green grass picked up some of the colored fibers from the Noch static grass giving the monotone darker green a little more depth.I have a static grass applicator but I didn't like the result when I used it.

Here how my angels look on their new lawn! I'm happy with this.